I have a lot of DIY projects in my mind but too often I'm either busy or too lazy to work on them. My last DIY was the black straw grid that I retired about more than a year ago. Since then I just bought what ever I needed, but there's always a different feeling when you finish a diy project and then use them on shoots. I love reading DIYP for inspiration but never work on any of them. I read a week ago that Udi (who runs the site) had a DIY softbox contest and I just ignored it. 3 days from the deadline, I went through the site again and saw the contest reminder, and said to myself, maybe Icould do one, not just to win, but to get my butt off the couch this weekend.
A strip box is basically an elongated softbox that your light goes through. You normally use it for side/rim light to your subjects. I decided to build one because strip boxes are not readily available for small flashes here in Manila. I told myself if I'm gonna build one, I better make it a little durable that I could use for location shoots and what not. So I sourced for items in a local bookstore and got what I needed in about 30mins of shopping.
Materials:
1. A short black plastic folder
2. cardboard cutter
3. Self Adhesive velcro
4. Aluminum tape for the inside*
5. White Diffuser (either a piece of white cloth or printer paper
*This wasn't available so I just replaced it with white paper for now.
Steps:
1. Measure the head of your flash from all sides.
2. Open the plastic folder and flatten it so you'll have one sheet of plastic. Cut off the tabs so you'll have one even sheet

3. Put your measurements to the shorter side of the folder, starting with the wide side of the flash head. Add about an inch for the velcro strip later.
4. Once you have the measurements marked on the folder, use a ruler to fold the length of the folder based on the measurements you have marked, basically forming a long box.


5. Stick a strip of velcro (hookside) to the extra inch of flap you have folder earlier, and a strip of the velcro (soft side) along the side of the box. I didn't have enough velcro when I did this so I just added 3 small strips, but it would be best if you stick velcro along the lenght of the box.

6. Stick a couple of peices of the velcro hookside inside the bottom of one of the ends. This will be where you attach the flash. My YN460II already has velcro on it.
7. Create a small rectagular "cap for the other end.
8. Cut a long rectangular opening on the bottom wide side of the box starting from 1 1/2 inch from the top (where the "cap" is) and ending about 2 inches from the bottom (where your flash will be).
9. Put aluminum tape in the inside, avoiding the rectangular opening you just made. I didn't have the tape so I replaced it with paper temporarily.
10. Place your diffuser, inside along the opening you made. I used paper for now, but I'll probably replace it with a cut peice from white shower curtain.


11. Put your flash and test!
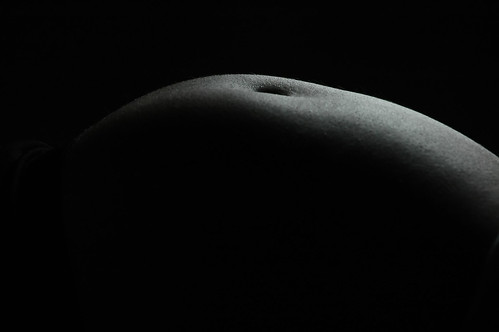
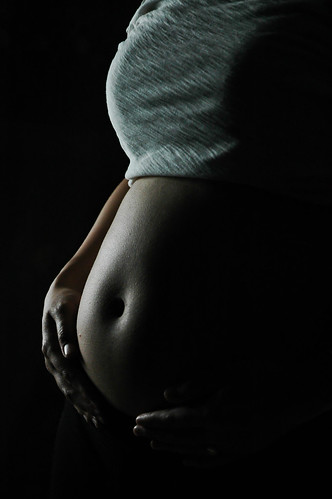
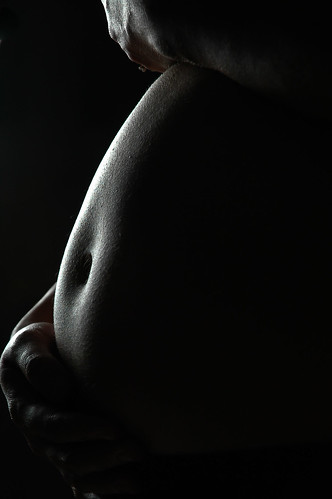
My box has a hotspot near where my flash head s which is understandable. You can use a stofen to diffuse that a bit, just make sure you add that to your measurments. Once I have the aluminum tape and the shower curtain, I'll double the curtain material at the edge with the hotspot and hopefully that will solve it. After use I can disassemble the box and fold it flat and use a binder clip to for it to stay flat. It's water proof and hopefully it will be durable. I haven't had the chance to try it on a person but here's a shot I made with it.
Here's the photo from the top again as my test shot:
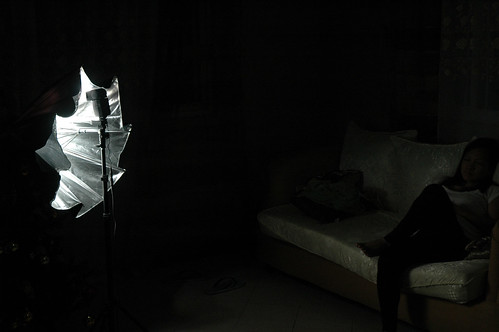
I added a small slaved flash from behind to light the background. I then arranged my newborn's bottles and milk cans and blurred it out for an interesting background (I knew those bottles will be of use to me photographically). Here's how the set up looked like.

Anyone can make this and cost me less than Php100 (around $2USD). Give it a try and let me know of your results. :)
rb