
Wednesday, July 20, 2011


Sunday, June 26, 2011


Friday, June 17, 2011
DIY Collapsible Strip Box

I have a lot of DIY projects in my mind but too often I'm either busy or too lazy to work on them. My last DIY was the black straw grid that I retired about more than a year ago. Since then I just bought what ever I needed, but there's always a different feeling when you finish a diy project and then use them on shoots. I love reading DIYP for inspiration but never work on any of them. I read a week ago that Udi (who runs the site) had a DIY softbox contest and I just ignored it. 3 days from the deadline, I went through the site again and saw the contest reminder, and said to myself, maybe Icould do one, not just to win, but to get my butt off the couch this weekend.
A strip box is basically an elongated softbox that your light goes through. You normally use it for side/rim light to your subjects. I decided to build one because strip boxes are not readily available for small flashes here in Manila. I told myself if I'm gonna build one, I better make it a little durable that I could use for location shoots and what not. So I sourced for items in a local bookstore and got what I needed in about 30mins of shopping.
Materials:
1. A short black plastic folder
2. cardboard cutter
3. Self Adhesive velcro
4. Aluminum tape for the inside*
5. White Diffuser (either a piece of white cloth or printer paper
*This wasn't available so I just replaced it with white paper for now.
Steps:
1. Measure the head of your flash from all sides.
2. Open the plastic folder and flatten it so you'll have one sheet of plastic. Cut off the tabs so you'll have one even sheet

3. Put your measurements to the shorter side of the folder, starting with the wide side of the flash head. Add about an inch for the velcro strip later.
4. Once you have the measurements marked on the folder, use a ruler to fold the length of the folder based on the measurements you have marked, basically forming a long box.


5. Stick a strip of velcro (hookside) to the extra inch of flap you have folder earlier, and a strip of the velcro (soft side) along the side of the box. I didn't have enough velcro when I did this so I just added 3 small strips, but it would be best if you stick velcro along the lenght of the box.

6. Stick a couple of peices of the velcro hookside inside the bottom of one of the ends. This will be where you attach the flash. My YN460II already has velcro on it.
7. Create a small rectagular "cap for the other end.
8. Cut a long rectangular opening on the bottom wide side of the box starting from 1 1/2 inch from the top (where the "cap" is) and ending about 2 inches from the bottom (where your flash will be).
9. Put aluminum tape in the inside, avoiding the rectangular opening you just made. I didn't have the tape so I replaced it with paper temporarily.
10. Place your diffuser, inside along the opening you made. I used paper for now, but I'll probably replace it with a cut peice from white shower curtain.


11. Put your flash and test!
My box has a hotspot near where my flash head s which is understandable. You can use a stofen to diffuse that a bit, just make sure you add that to your measurments. Once I have the aluminum tape and the shower curtain, I'll double the curtain material at the edge with the hotspot and hopefully that will solve it. After use I can disassemble the box and fold it flat and use a binder clip to for it to stay flat. It's water proof and hopefully it will be durable. I haven't had the chance to try it on a person but here's a shot I made with it.
Here's the photo from the top again as my test shot:
I added a small slaved flash from behind to light the background. I then arranged my newborn's bottles and milk cans and blurred it out for an interesting background (I knew those bottles will be of use to me photographically). Here's how the set up looked like.

Anyone can make this and cost me less than Php100 (around $2USD). Give it a try and let me know of your results. :)
rb
Monday, June 13, 2011
It's been Awhile
I've been out of the bloggersphere for a couple of months now. I guess it was harder to be a dad than I was expecting. Let me correct that, it's not hard to be a dad, it's hard to blog or do anything else when you have a newborn at home. Man, she's so cute I couldn't take a camera and take a picture. I just spent a lot of time looking at her and her big round eyes. It's such a wonderful feeling that everything else comes second. So that's why I had been out of the blog, and even facebook for a while. Here are some pics of her:


I just finished a couple of projects that I'll be blogging about soon. Hopefully.
Tuesday, April 19, 2011
Nine Months in - We're Ready

She's on her 40th week, and its Lenten Week. I'm taking her to the hospital in less than 12hrs form now to have the doctor induce her labor. Lara is not in any pain that I was expecting. God has been good to us, and now we can finally see His blessing. Thank you for everyone who have supported us since the beginning. I have taken all your advice and tips and will be putting them to good use.
We'll be parents soon, and we're ready for this new journey we're taking.
photo by Daryl Guangco
rb
Sunday, April 17, 2011
8th Month - She's Almost Ready to Pop

Now, I'm not only late for the 8th month, I'm also late for the 9th month. She's on her 38th week in this photo but she's almost on her 40th presently. I hope I get a chance to shoot a picture of her before she pops. :)
rb
Saturday, April 2, 2011
Playing around the pool
I borrowed an Olympus Stylus Tough this weekend and had a blast taking shots underwater, if only I wasn't having more fun with my niece and nephew, I would have taken more shots. After a few minutes in Photoshop, I got the shots below.


I really am digging underwater shots. Hopefully I could put this to more artistic use. :)
rb


I really am digging underwater shots. Hopefully I could put this to more artistic use. :)
rb
Tuesday, March 8, 2011
What 2 years of Blogging has Done to Me

Honestly, I haven't really made a lot of improvement in my pictures (technical aspect), but I think my pictures from the last 12 months have more emotion, and means a lot more to me. I think that's because of the efforts that I have made to make those pictures that meant more than the actual image. Wether it's going on a crowded bus for a 10-hour drive north to take photos of a tribe, or going out and shooting goddesses in a meadow, or going to the US and seeing great architecture like the one above. It's the journey that I have taken and the effort that I have put in to capture those images is what I remember when I look at them.
Last year I listed down my favorite posts of my first year. This year I'll list down my most favorite photos from the last 12 months not because I think they look nice, but because they remind me vividly of how I took them.
The Elderly Ifugao Woman
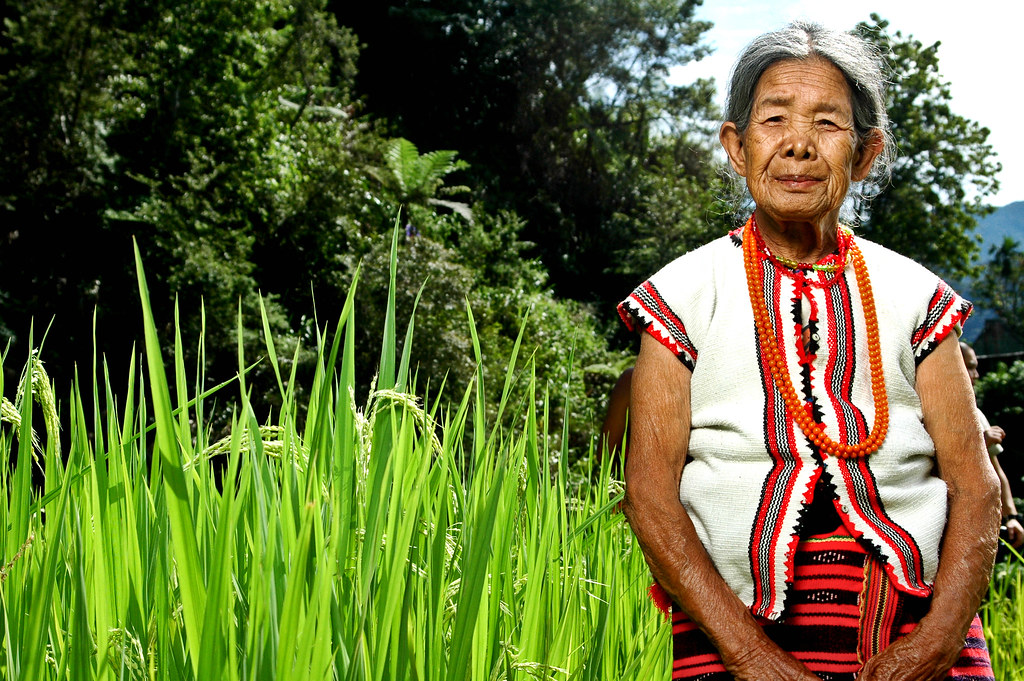
25 hours total travel time, in a cramped bus where the only way to sleep was to lay on one side with your leg by your chest. That wasn't fun at all, but after this old lady smiled at the camera, all of that went away. This was the only time she smiled at me, and I cherished it.
And the Winner is.....
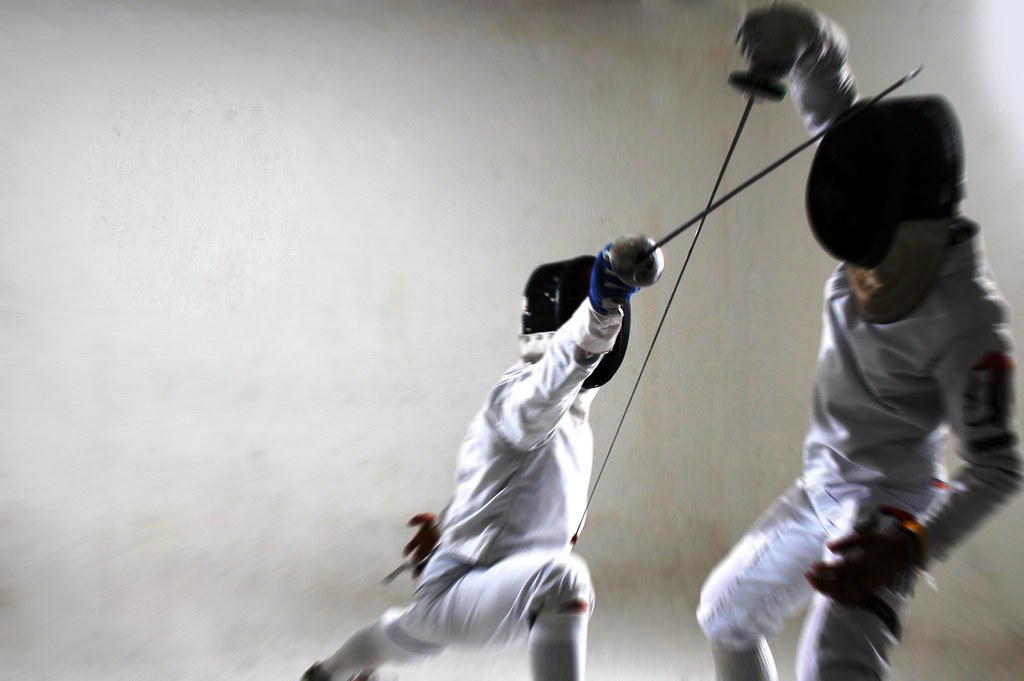
This one was sweet, not because the photo won the contest, but because this kids in this photo has been using this and the series of pictures in their Facebook and profile for promoting themselves. I would like to do more of these for deserving, unknown to the general public athletes. I already won long before I entered the contest.
My First U.S. Bass

Now, this was really sweet. Got this guy on my first cast. What a rush. This won't probably happen again so I better save this photo for the archives.
Fog, Fog and More Fog

This to me is a great photo. Took me 2 days to learn and apply the fog in Photoshop, so that added more meaning to it. Once I perfected it, I was able to apply that to the rest of the set in less than a few minutes per photo. This was also the first time I started visualizing the shot on paper, rather than just imagining it in my head. That helped me make the right set up for editing later.
One Lucky Shot
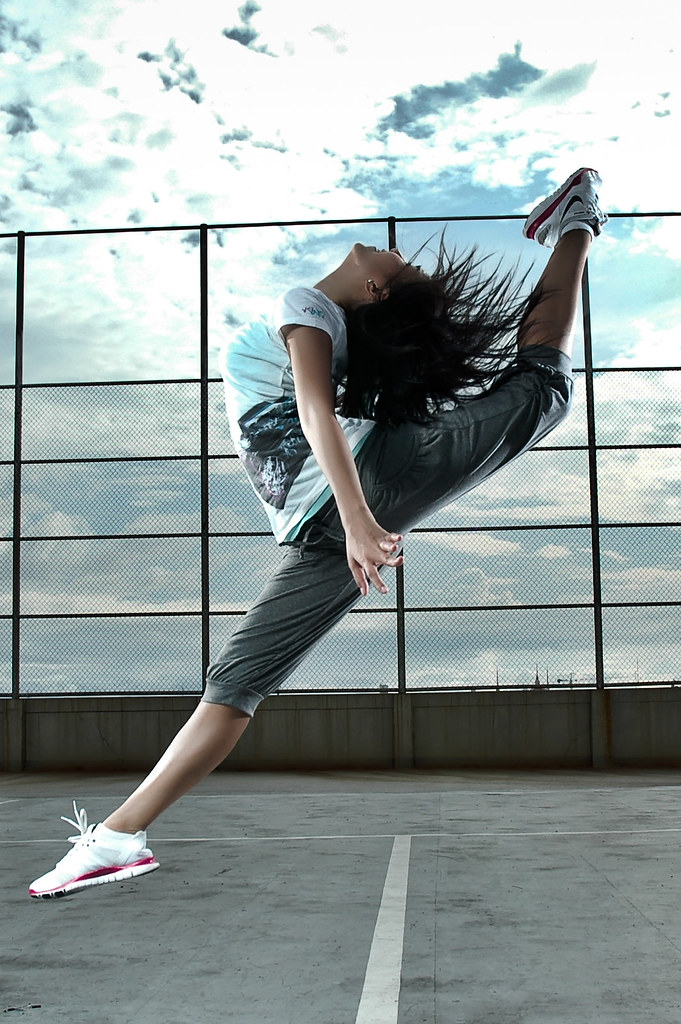
Got this with one shot. Amazingly....lucky. Couldn't have asked a better shot than that.
A Soon to be Model

This had to be the best news I have ever had. A couple of months from now, she'll be in my arms. She's such a beautiful girl that daddy already have so many plans for her first photo shoot. She's the most wonderful thing I have ever received, and my wife and I can't wait to see her.
I have had so many changes in my life the last 12 months. I hope my 3rd year of blogging will document it better, with hopefully, more posts than the last 2 years combined.
rb
Tuesday, March 1, 2011
7th Month - Mother and Child

She's almost 8 months now, and I just had her 7th month picture taken. It's been a hectic few weeks. I hope I can take another photo this week or the next for her 8th month, so I could at least be on time for once.
I took a step away from the usual "tummy" shots I've been taking. I guess I wanted to focus more on her for this month. It's not just about the baby, it's also about the one carrying the baby, right? I think this photo is very meaningful to me. Out of the 20 or so shots I took, this was the only one that looked like they were talking and having a moment. It's like mom telling her baby to smile for the photo. :) It was just for a few seconds and I'm glad I was able to capture it.
rb
Subscribe to:
Posts (Atom)